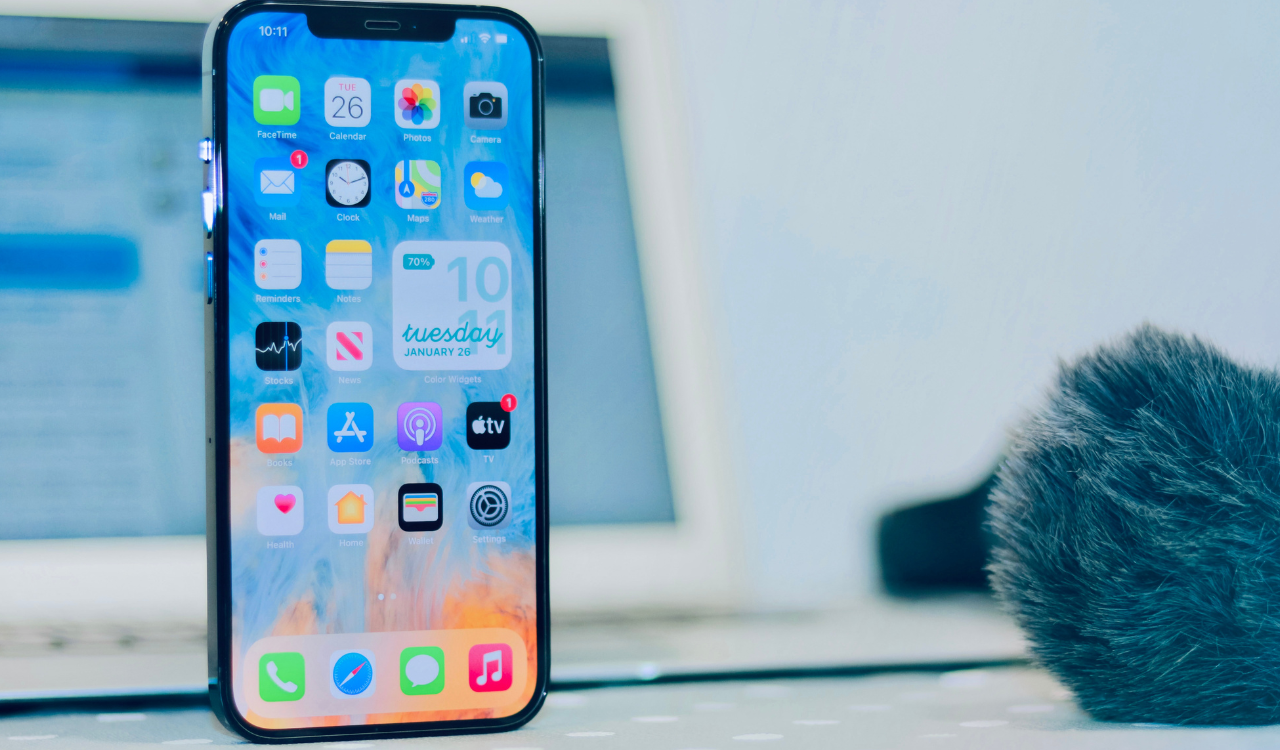
iPhone users are growing these days and owning it for the very first time you/user may face issues related to how to take a screenshot on iPhone. Here in this LTN tips and tricks article, we will check how to take a scrolling screenshot on iPhone.
In the latest iOS 17, you can capture scrolling screenshots of web pages, documents, PDFs, notes, or emails.
Here’s how to do it:
1. Just visit any Web Page you want to capture and take a normal screenshot.
2. Tap the screenshot preview thumbnail at the bottom left corner.
3. Now just check the “Full Page” tab on the top right.
4. You will now see the scrolling screenshot preview, which you can scroll through, on the right.
5. You can even crop the selected part.
6. Click on Done to save changes.
5. If you want to share the complete screenshot, tap on Done at the top left. Then, select “Save to Photos” to save the scrolling screenshot as an image in the iPhone Photos app.
6. Also you can tap the Save PDF to Files option, and tap Save to save the screenshot in the File app.
Do it via AirDrop
1. On the screenshot preview screen, tap the Share icon at the top right.
2. Now, choose the app using which you want to share the screenshot.
How to Open Scrolling Screenshots on iPhone
Once you are done with your screenshot-capturing process, you can view them in the “Panoramas” folder in the Photos app.
1. Open the Photos app and go to the Albums tab at the bottom.
2. Scroll down and select the Panoramas folder.
3. Now, tap the Scrolling Screenshot tile to view it.
